Creating and Editing Schedules
Schedules and be created and edited through the schedule main menu:

Click on "edit schedules"
 Choose the week you would like to edit and select "Show Detail"
 Select the position and location you would like to access and click "Start" or "Edit"


Creating a Shift
To add a new shift, select the employee and day that you would like to add the shift to and click the plus sign:
 Enter the start time and end time and click save
The shift is now scheduled for that employee:

Copy and Paste a shift
Once you have created a shift, you can copy that shift to paste it to a different day or for another employee.
Click on the edit pencil for the shift you would like to copy 
Select copy on that shift
 Move to the day and employee that you would like to paste a copy of the shift, click the plus sign and select paste:

Open Shifts
Shifts can be created and place in open shift. This will allow you to quickly see what shifts still need to be assigned for a particular schedule. These shifts can also be sent to the shift marketplace:

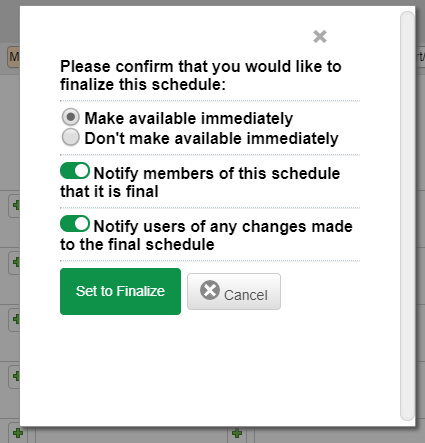
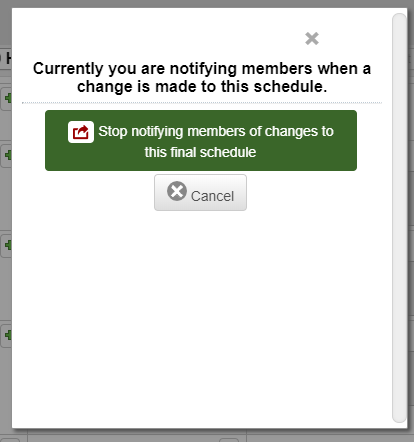
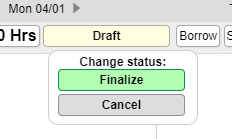
Finalizing a Schedule
 Options will be available to make the schedule available immediately or set a date and time that you would like to make it available to view.